Configuring the Mosquitto Directory
Ensure to download the Mosquitto broker from the official Eclipse Mosquitto website. Once installed, navigate to its directory and open mosquitto.conf file.
Under Bind to all interfaces, enter the following:
-
listener 1883 {Your computer's IP address}
Ensure that you allow anonymous connectivity. This is done by entering the following:
-
allow_anonymous true
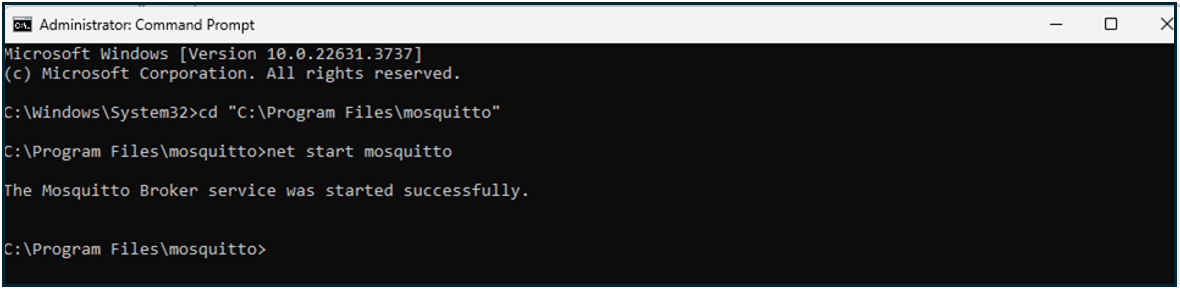
Configuring the Command Prompt
Open the command prompt as an administrator, navigate to the Mosquitto install directory, and enter the following command:
-
net start mosquitto
To validate that the Mosquitto broker has been successfully set up, enter the following command:
-
netstat -an | findstr 1883

To initiate the Mosquitto broker, enter the following command:
-
mosquitto_sub -h {Your computer's IP address} -t test

Edit Connection
In the ZeroKey dashboard, navigate to the MQTT Settings tab and click Edit Connection. Ensure that the topic name matches the name where the broker is posted. In the example above, the topic is named test, so we named the connection accordingly in the image below. Navigate to the MQTT Settings tab and click Edit Connection. Ensure that the topic name matches the name where the broker is posted.


Note: If you run into issues, ensure that your Windows firewall settings allow inbound and outbound traffic on port 1883 on your Windows machine.