Adding Anchors to Expand your Starter Kit's Coverage
Easily expand the coverage offered by your tracking system by adding Anchors. This guide covers the steps for adding new Anchors, configuring and recalibrating the system, and evaluating coverage once the expansion is complete.
Why Expand?
Adding extra Anchors to your system can be beneficial in several ways, including:
Larger Tracked Space: Increase the size of the tracked space to include new areas within a facility or capture additional work-flow processes.
Improved Positioning: Increases reliability in areas where performance may be affected by obstructions or environmental factors. When site conditions change and new blockages are introduced, adding Anchors may be required.
Adaptability to New Testing Requirements: Adapt the tracking system to changes in testing conditions and scenarios by adding Anchors.
Installation Steps
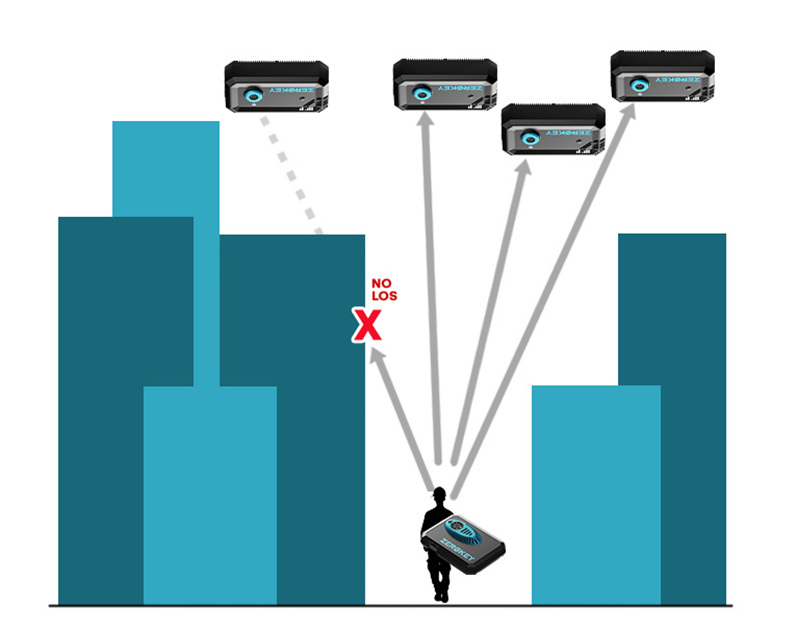
Before starting the expansion process, walk through the tracked space to determine optimal mounting locations for new Anchors. A Mobile always requires a clear line of sight to 4 Anchors. This is referred to as the Rule of 4 and you can learn more about it by reading the help article in our Info Center: Anchor Placement Fundamentals.
Plan your Anchor Placement
Identify the coverage area: Determine the area where coverage is needed.
Consider obstructions: Blockages within the tracked space may offer the best mounting location for Anchors. Ensure that at least 4 Anchors can always maintain a line of sight to the Mobile.

Ensure sufficient coverage: Place Anchors to create overlapping coverage and minimize blind spots. In most cases, 8 Anchors will provide coverage for 120 square feet or 11 square meters.
Install the Anchors
Mount the Anchors: Use the Anchor mounts to firmly attach each Anchor to walls, ceilings, or other stable structures. Power on each Universal Anchor as it is installed. When installing Power over Ethernet (PoE) Anchors, network cables and a power source like a PoE switch are required.
Position properly: Vary the height of the Anchors. Ensure that the transducer is pointed towards the expansion area where tracking is required.
New Hardware Configuration
Add Anchors to the same RF Channel
Use the ZeroKey Config Tool to confirm that the new devices are set to the same RF channel as the existing system. Learn more about changing the RF channel to match the current system by reading the help article in our Info Center: Changing your System’s RF Channel.
Note: The default RF channel for ZeroKey devices is set to channel 50. If the channel on your existing devices has not been modified, you can keep the default channel setting of 50. However, if you have changed the channel (e.g., to channel 74), you will need to configure the new devices to use channel 74.
Ensure that appropriate listening distance is configured when expanding system coverage. The default listening distance is set to 6.17 meters.
If the tracked space exceeds this range, you will need to increase the listening distance accordingly. For more details on selecting the proper listening distance, please refer to our help article: Selecting the Right Listening Distance with Set Max Range.
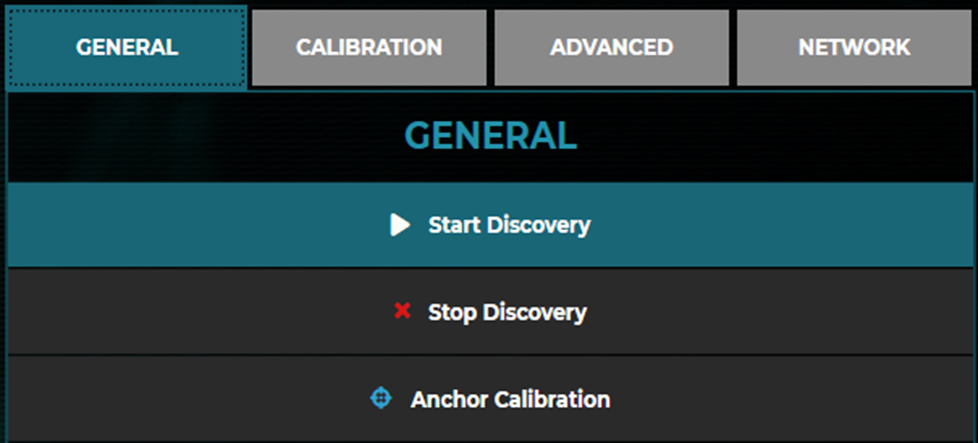
Once the new devices are migrated to the correct RF channel, navigate to the General tab in the Config Tool and click the Start Discovery button. Ensure that all devices are discovered before moving to the next step, then click the Stop Discovery button.

Steps for Recalibration
After adding new Anchors, recalibrate the system to integrate the new Anchors into the larger Anchor network.
Launch the Config Tool and navigate to General tab.

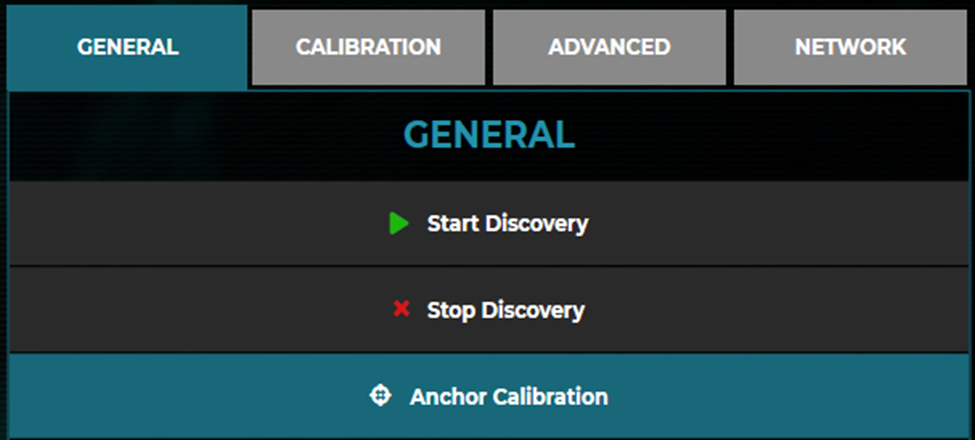
Click the Anchor Calibration button.
Follow the calibration process outlined in the Calibration Wizard to synchronize all Anchors.
For a more detailed guide on the calibration process, please read our help article: How to Calibrate Your Positioning System.
Positioning Evaluation
Once the calibration is complete, start positioning to confirm that the coverage provided by the new Anchors meets the expansion requirements.
Conduct a Coverage Test
Start positioning and use a Mobile to walk through the existing and expanded area.
Monitor the system for any inconsistencies in tracking or coverage gaps by viewing the Mobiles movement in the Config Tool’s 3D Visualizer.
Evaluate Anchor Placement
Confirm that the entire area is covered as planned and that the Anchors provide stable tracking.
Adjust or add Anchors if necessary to optimize coverage and recalibrate.
Verify System Accuracy
Use the Distance Measure Tool to test the accuracy of the enlarged system.
Note: To use the Scale Check feature:
Power on a second Mobile and place the two Mobiles 1 meter apart.
In the Config Tool, navigate to the General tab and click Distance Measurement Tool.
A new window will open, prompting you to choose Node A and Node B.
Select the first Mobile under Node A and the second Mobile under Node B.
Once both Mobiles are selected, the tool will display the distance between them in real-time.
For more information, read our help article: How to Use the Distance Measurement Tool.
Fine-tune the Anchor Layout
If positioning improvement is required, consider adjusting the Anchor layout – for more information on how to do this, read our help article: Utilizing Coordinate Transformation in the Config Tool.
